
One of the most common scenarios that you need to support when you’re building applications powered by AI is enabling the LLM to work with private data. Models are trained using a huge set of public data, which means they can handle very well tasks like telling you the plot of a famous book, or giving you an overview of a historical fact. But what if you want to use the LLM to help you planning your work day? Or answering questions about the internal company policies? These are all tasks that a LLM can’t handle, because these are private information and, as such, they weren’t part of the dataset used to train the model.
There are multiple techniques to enable this scenario. One of the most commonly used ones is called Retrieval Augmented Generation (or RAG). This technique is based on the idea of combining a LLM with a search engine. The LLM is used to generate the answer, while the search engine is used to retrieve the most relevant information from a private dataset. At a high level, the process is the following one:
- The user asks a question to the LLM, by writing a prompt.
- The user prompt is used to generate a user intent, which is a sentence that describes what the user is trying to achieve. For example, if the user asks “What is the company policy about working from home?”, the user intent could be “Company policy remote work”.
- The user intent is used to query the data source which holds the private data. The result of the query is a set of documents that are relevant to address the user intent.
- The user prompt is combined with the documents retrieved from the data source and the submitted to the LLM.
- The LLM uses the information provided in the prompt to generate an answer and sends the response back to the user.
By reading these steps, you probably have realized that the core component of RAG is the search experience. We all know the powerful capabilities of LLMs to generate content in natural language, so we are confident that it can generate a good answer. However, the reliability of the answer completely depends by the documents that we send together to the user prompt. If they’re relevant to address the user intent, the LLM will generate a good answer. Otherwise, the response will be unreliable.
Introducing vector databases
For this reason, in the pasts months another technology started to grow as a companion of RAG: vector databases or vector indexes. It would be out of scope for this post to dive deep into the theory behind vector databases, but the main idea is that they can be used to store documents and to retrieve them based on their similarity to a query. One of the limitations of standard search, in fact, is fact it’s typically based on a keyword: we search for documents in which a specific word is present in the title or the in the text. Vector databases, instead, supports the concept of semantic search: they can retrieve documents that are semantically similar to a query, even if they don’t contain the same words. Let’s reuse the previous example, which is the question “What is the company policy about working from home?”. In this scenario, the search experience should be able to return not just documents that mention “working from home”, but which cover also topics like “remote working”, “smart working”, “flexibility” or “work life balance”. A vector database is able to support this scenario, by storing documents as vectors and by retrieving them based on their similarity to a query vector, which is a mathematical function.
You can think to a vector database, in fact, like a multidimensional space, in which each document is a point. The distance between two points is a measure of their similarity. The closer they are, the more similar they are. The farther they are, the more different they are. The following image shows you this concept:
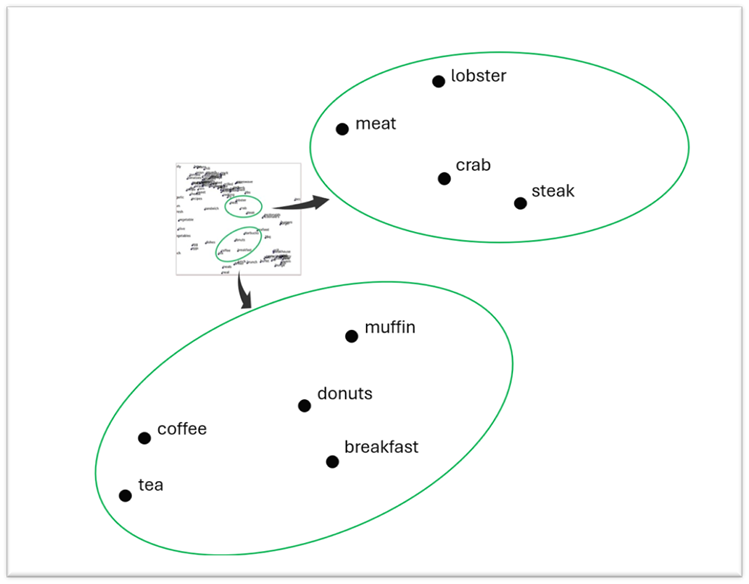
In the image, you can see that the two highlighted group of words are close to each other, because they’re related to the same topic: food. However, some words are closer to each other than others, because the similarity is stronger. The word muffin is closer to donuts or coffee, rather than to steak or lobster. By doing a semantic search, we are able to retrieve more easily and faster all the documents that are similar to the topic we’re looking for.
But where are these vectors coming from? The most common way to generate them is by using a special AI model, called embedding model. An embedding model is able to convert a given input (like a text) into a vector, so that you can store it in a vector database. OpenAI, for example, provides a model called text-embedding-ada-002, which can be used for this task.
But that’s not everything. For a simple scenario, you could directly store the entire text as a vector into the vector database. But, for a real scenario, in which you need to search across potentially long documents, this approach isn’t suitable. One of the limitations of LLMs, in fact, is that they can’t process an infinite prompt. Every LLM has a maximum window size, which must take into account the length of the input prompt and the response. This length is measured in tokens: you can think of them (very roughly) as words or chunk of texts. The maximum window of a LLM is measured in tokens. For example, the base GPT-4 model by OpenAI supports a maximum window of 8000 tokens.
This means that sending the entire content of a document inside the prompt might easily consume all the available tokens, making it impossible for the LLM to process a response. Let’s make a concrete example. Let’s say that you have stored into a vector database a 50 pages document with the company policies as a single text. This means that, if you ask the question “What is the company policy about working from home?”, the search must retrieve the entire document and send it to the LLM, even if it probably contains lot of information that aren’t related to the working from home policy. The LLM will then try to generate a response, but it might fail, because the document is too long and it will consume all the available tokens.
The solution to this problem is to split the document into multiple chunks, each of them small enough to be processed by the LLM. This is called chunking. When you use this approach, inside the vector database you don’t store the entire document as a whole, but you split into chunks and you store each chunk as a separate document. When you perform a search, you retrieve the most relevant chunks and you send them to the LLM. There are many tools and services on the market, (like Azure AI Document Intelligence) which you can use to perform this task.
If you have followed me so far, you have probably realized that building an application that supports the implementation of RAG we have just described requires a certain level of complexity:
- It needs to turn a user prompt into a user intent.
- It needs to turn our private date into vectors using an embedding model, so that we can store them into a vector database. We need also to apply chunking, to improve the ability of the LLM to process long documents.
- It must support performing semantic search against the vector database, given the user intent.
- It must combine the user prompt with the documents retrieved from the vector database and submit them to the LLM to generate a response.
In this post, we’re going to learn about a service created by Microsoft called Kernel Memory, which can greatly simplify this implementation and that can be integrated with Semantic Kernel using a plugin.
Let’s start!
Introducing Kernel Memory
Kernel Memory is built with the same principles of Semantic Kernel: it abstract many of the concepts behind RAG and, thanks to multiple extension methods, you can easily connect it to common AI services (like OpenAI and Azure OpenAI) and vector databases (like Azure AI Search or Qdrant). As we’re going to see in this post, switching from one service to another doesn’t mean changing the code of the application.
Additionally, it offers built-in support for converting multiple type of contents into embeddings, like PDFs, Word documents, PowerPoint presentations, websites, etc. It also allows you to skip the flow user prompt -> user intent -> search on the vector database -> prompt augmentation -> LLM response, by providing a single method that performs all these steps for you. Finally, it offers built-in support for chunking, to automatically split long documents into smaller chunks before they are stored in a vector database.
Kernel Memory can run in two ways:
- Serverless: the whole service is hosted directly by the running application, which takes care of generating the embeddings, storing them and performing the search. This is the simplest scenario, but it’s not suitable for large datasets or complex applications, since it makes it harder to scale.
- As a service: the service is hosted as a separate instance, that the main application can consume using a REST API (which is wrapped by a dedicated C# client). This is the recommended approach for complex applications, since it allows you to scale the service independently from the main application. You could host it, for example, on Azure using an App Service and easily scale it to multiple instances based on the workload.
Regardless of the model you choose, the APIs to perform the main tasks (like generating a vector) are the same. In this post, we’re going to use a sample web application, based on Blazor, that uses Kernel Memory in serverless mode to implement RAG. The application will provide two main functions:
- Content ingestion: the user can upload a document, or simply write a text, and the application will generate the vector for it and store it in a vector database.
- Q&A: the user can ask questions about the uploaded content and the application will use Kernel Memory to retrieve the most relevant documents and to generate a response using an LLM.
Creating the Blazor application
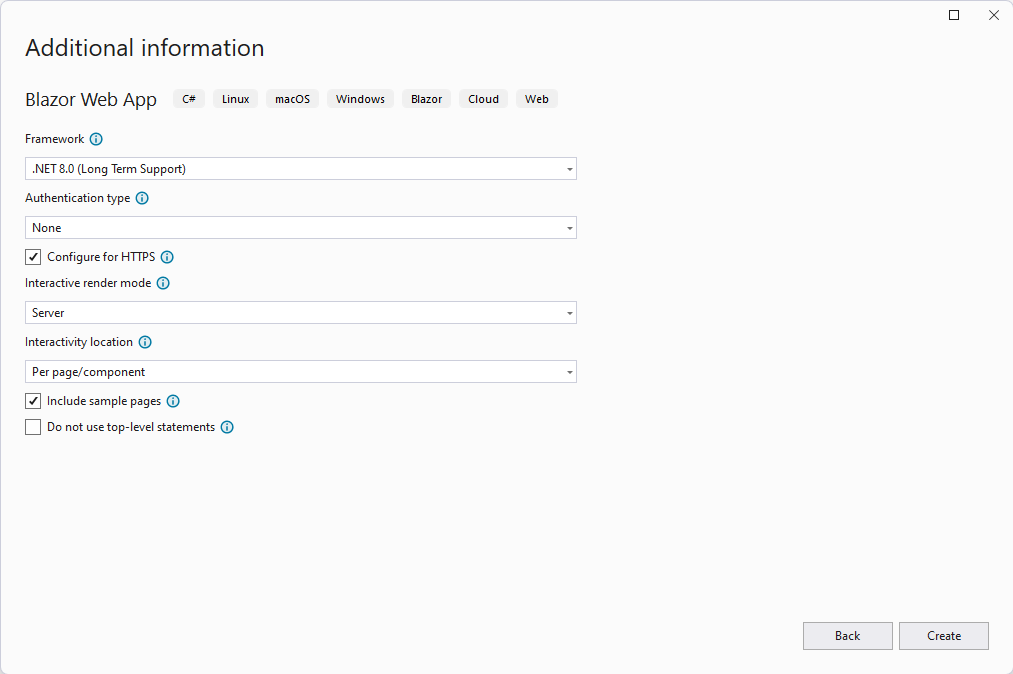
For this sample, I’m going to use Blazor, the framework to build web applications that run client-side, using C# and .NET instead of JavaScript. I’m going to use the server-side model, which means that the application will run on the server and the code will be rendered on the client using SignalR. This is the simplest model to use, since it doesn’t require any additional configuration. In Visual Studio 2022, choose Create a new project and pick Blazor Web App as a template. Leave all the default settings, which will generate a Blazor server-side application based on .NET 8.0:
As first step, you must install the Kernel Memory NuGet package, which is named Microsoft.KernelMemory.Core.
Now we’re going to build a service, that will wrap all the operations with Kernel Memory for us. Create a new folder named Services and add a new class named MemoryService Before implementing any feature, we need to initialize Kernel Memory. We can do that in the constructor of the service. Let’s see the whole code, then we’ll discuss it:
| |
Compared to the way we have initialized Semantic Kernel in this blog, in which we used a single model to perform every operation, we need instead to use two distinct models with Kernel Memory:
- One for the text generation, which is used by the LLM to generate the response.
- One for the embedding generation, which is used to convert documents into vectors.
Similiarly to Semantic Kernel, we have a KernelMemoryBuilder object that we can use to create a kernel, which supports multiple extension methods to register different AI services. In the previous example, we’re going to use models hosted by Azure OpenAI, so we use methods like WithAzureOpenAITextGeneration() and WithAzureOpenAITextEmbeddingGeneration(), but you could use also the variants WithOpenAITextGeneration() and WithOpenAITextEmbeddingGeneration() to use directly the OpenAI service.
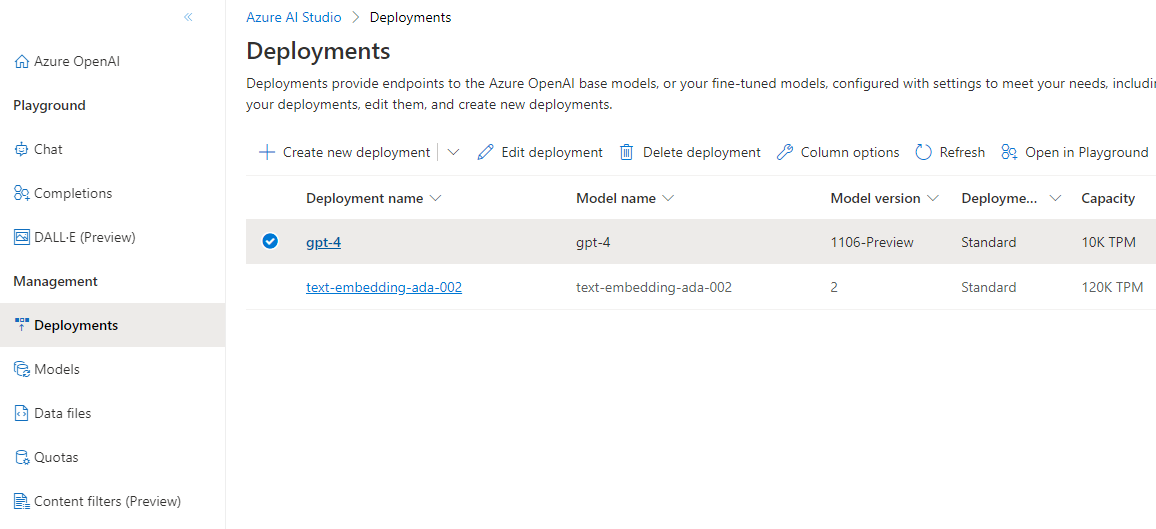
Since I’m using Azure OpenAI, I must provide to both methods an AzureOpenAIConfig object, which is used to configure the connection to Azure OpenAI. In my case, I’m using a single Azure OpenAI instance, in which I have deployed both models I need. As such, properties like APIKey and Endpoint are the same. The only difference is the value of the Deployment property, which is indeed different because text generation requires a traditional GPT model (like gpt-4), while embedding generation requires an embedding model (like text-embedding-ada-002).
Once we have defined the models, we must specify which vector database we want to use. Kernel Memory support multiple ones but, for our demo, we’re going to keep it simple. We’re going to use SimpleVectorDb, which is a solution that can run entirely in RAM or on disk. It’s not suitable for production scenarios, but it’s perfect for a demo, because it doesn’t requires us to setup any external service. For the moment, we’re just going to keep the vector database in RAM, so we don’t have to specify any parameter. Finally, we call Build() to create the kernel, passing as type MemoryServerless, since we’re going to host the service directly in our application.
Now we’re ready to implement the two main functions of the application.
Content ingestion
The first scenario we’re going to implement is content ingestion: we need to convert documents into embeddings and store them into a vector database. Kernel Memory makes it very simple, by providing multiple methods based on the type of content we want to ingest. Let’s add one for the most common scenario, which is file ingestion:
| |
We call the ImportDocumentAsync() method passing, as parameter, the path of the file want to import and it’s file name. It can be one of the supported files specified in the repository of the project.
The kernelMemory object offers many other methods to ingest other type of content. For example, we can ingest a text using the ImportTextAsync() method, or a website using the ImportWebPageAsync() method.
That’s it! Thanks to this method, files will be converted into embeddings and stored into the vector database, which is hosted in memory.
Implementing Q&A
Kernel Memory greatly simplifies the Q&A experience, since we don’t have to manually perform a search on the vector database to find the relevant content, and then include it into the prompt that we send to the LLM. The whole operation, in fact, can be performed by a single method, which is named AskAsync(). Let’s see how to use it by adding a new method to our MemoryService class:
| |
We simply call the AskAsync() method, passing as parameter the question we want to ask. The method will perform the following steps:
- It will convert the question into a user intent, using the text generation model.
- It will perform a semantic search on the vector database, using the user intent.
- It will combine the documents retrieved from the vector database and it will add them to the user prompt.
- It will submit the prompt to the LLM and it will return the response.
Lot of steps, performed with a single line of code!
Before we test our code, let’s add also an interface to describe the service we have just created, so that we can easily use it in our Blazor application with dependency injection:
| |
Now we can go to the Program.cs class of the project and, before the builder.Build() method is called, let’s register our service:
| |
Now we’re ready to use the service in our pages.
Creating the Blazor UI
Let’s add now the Blazor components we need to ingest the content and to ask questions. Let’s start from content ingestion, by adding a new component called AddContent.razor under the Pages folder.
As first step, we need to map the component to a page, by using the @page directive to create a route; then, we must get an instance of the service we have just created, by using the @inject directive:
| |
Now let’s add the UI to support the file ingestion:
| |
We have added an InputFile component and we have subscribed to the OnChange event, which gets triggered when the user has selected a file from the disk. We have also added an Output div, which will be used to display the result of the operation. Now let’s add the code to handle the OnChange event:
| |
The LoadFiles() handler receives, as input, the event arguments of the OnChange event, which includes a File property to access to the content of the selected file. We us the Name property to retrieve the full name of the file, which we use to define the full path where we want to store it. In our case, it’s a folder called Documents, which is a subfolder of the location where the application is running from. Then, we use the OpenReadStream() method to get a stream to the content of the file, which we copy into a new file using the FileStream class and the CopyToAsync() method. Finally, we call the StoreFile() method of our MemoryService class, passing as parameter the path of the file and it’s name, which will be used to generate the vector and store it in the vector database.
Now let’s add the UI to support the Q&A experience. Create a new component named AskQuestion.razor under the Pages folder. Also in this case, we’ll need to it to a page using the @page directive and to inject the MemoryService object using the @inject directive. Then, add the following code:
| |
The code of the page is really simple:
| |
We have a simple input field, which is bound to the question property. When the user clicks on the Ask button, the Ask() method is called, which calls the AskQuestion() method of the MemoryService class. The method is going to start a semantic search in the vector database, get the most relevant documents, send them to the LLM and generate a response, which we’re going to display to the user.
Testing the application
Let’s test the application! Press F5 in Visual Studio then, once the Blazor website is loaded in the browser, head to the /addcontent page. For this test, we’re going to use the following PDF file, which is a fictitious employee manual of a made up company. Click Choose file and select the PDF. After a few seconds, the processing will be completed and you will see a success message.
Now head to the /askquestion page and let’s try to ask a few questions about the content of the document. For example, “What is Contoso Electronics?”.
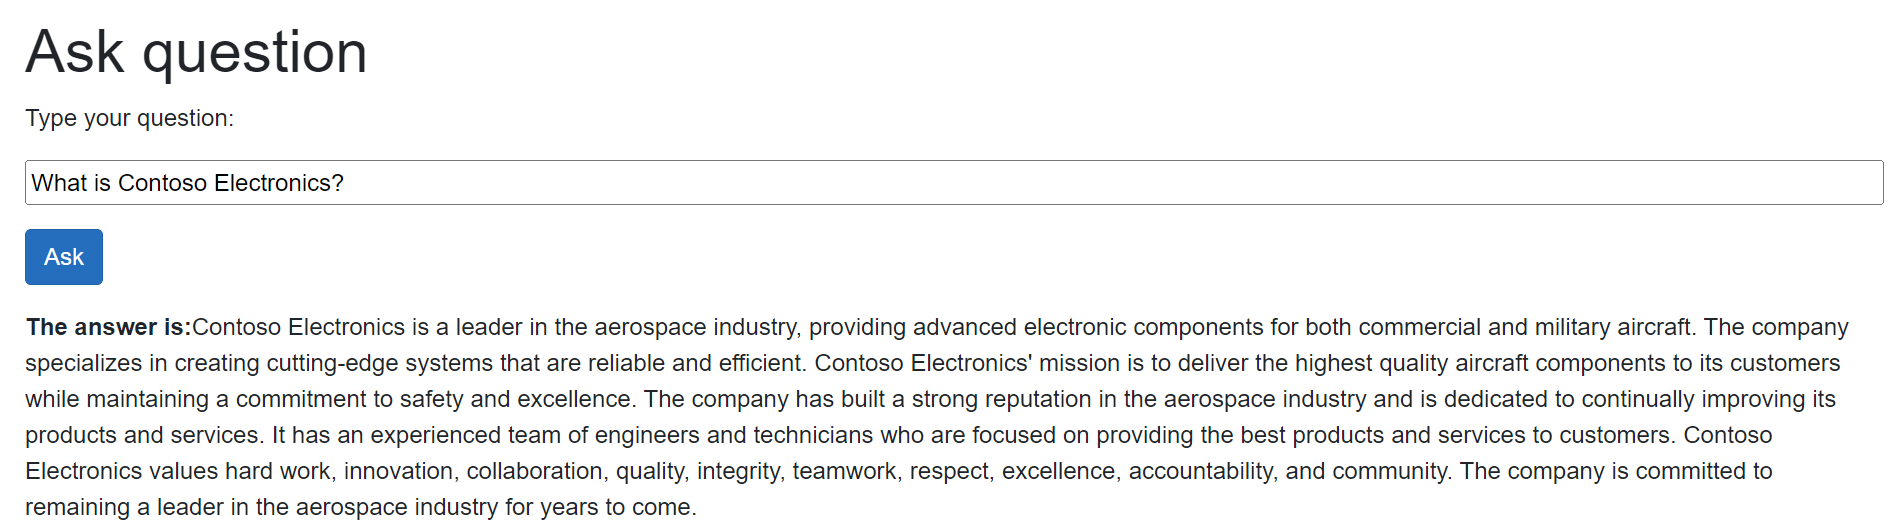
The answer is correct! Let’s try another one: “Which are the Contoso Electronics values?”.
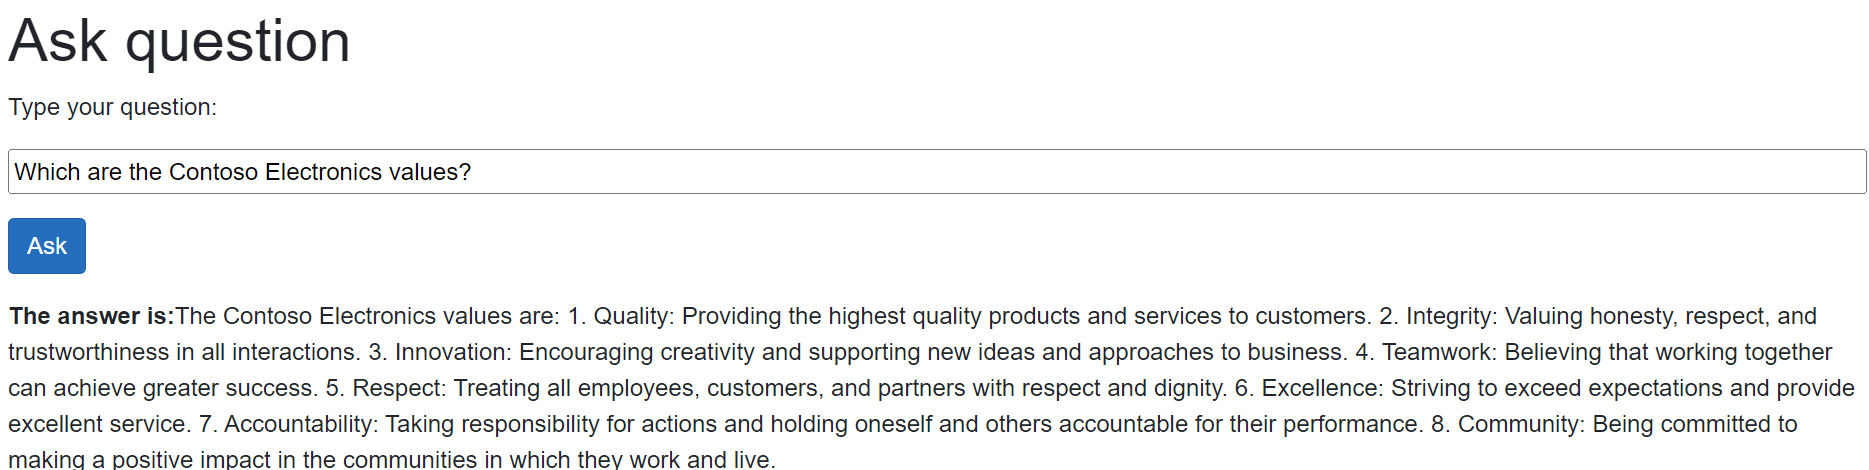
Again, the answer is correct! These questions, however, don’t show the full potential of semantic search because, probably, the information needed to generate a response could have been retrieved also with a more traditional keyword search. Let’s try a more complex one: “Is there any connection between Contoso Electronics and things that fly?”.
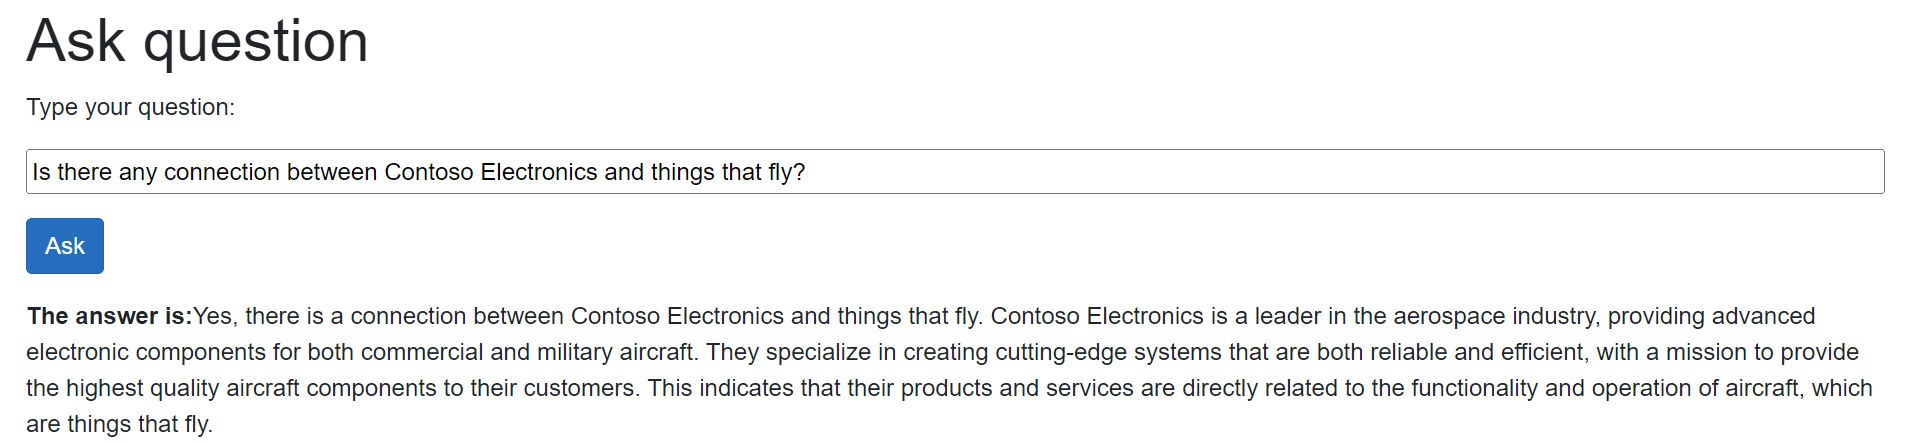
As you can see, despite the PDF we have uploaded doesn’t include the specific words “things that fly”, the semantic search was able to retrieve the paragraph of the document that talks about the mission of Contoso Electronics, which is to build components for aircrafts. This is a great example of the power of semantic search!
But how can be sure that the information is indeed coming from the PDF document? We can leverage another powerful feature of Kernel Memory, which is the ability to include citations in the response. The AskQuestion() method we have created in the KernelMemory class currently returns only the value of the Answer property, but the response object contains also other information, like the citations. Let’s create a new class named KernelResponse under the Models folder, which will be used to store the response of the AskQuestion() method in a more complete way:
| |
Now let’s update the AskQuestion() method of the MemoryService class to return an instance of this class:
| |
As you can see, the response contains also a property called RelevantSources, which is a collection of all the sources that were used to generate the response.
Finally, let’s update the UI and the code of the AskQuestion.razor page to display the citations:
| |
Below the answer, now we’re going to use a foreach statement to display the list of citations stored in the Citation property, which includes the name of the file (SourceName) and the type of the file (SourceContentType).
In the @code section, we have simply changed the type of the answer property from string to KernelResponse.
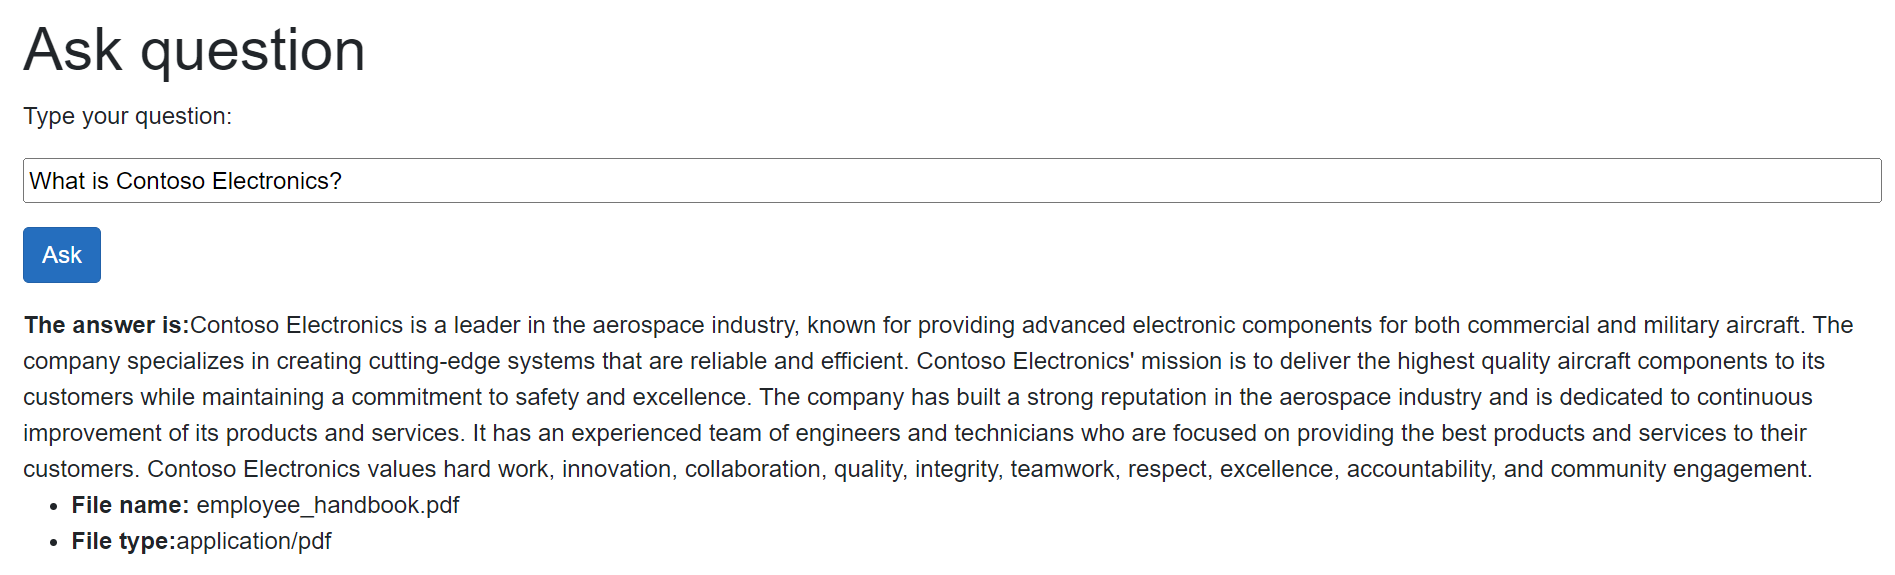
Now press F5 and try again to ask a question, like “What is Contoso Electronics?”. You will see that, below the answer, you will find a list of citations, which includes a reference to the employee_handbook.pdf file we have previously uploaded:
Storing the vector database on disk
If you stop and relaunch the application, then you ask again the same questions, the experience will be quite different:

This is because the vector database is stored in memory, which means that it’s lost when the application is stopped. To avoid this problem, we can store the vector database on disk. To do that, we need to change the code of the MemoryService class, by adding a new method to initialize the vector database:
| |
We have added a new parameter to the WithSimpleVectorDb() method, which is the path where we want to store the vector database. In this case, we’re going to store it in a folder named Memory, which is a subfolder of the location where the application is running from.
Now launch again the application and use again the AddContent page to upload the PDF. This time, you will find a new folder in your project called Memory, with a series of files:
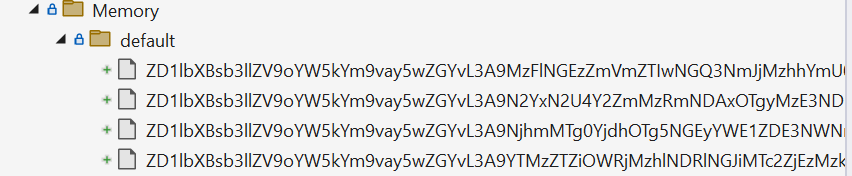
Now, if you stop and relaunch the application, the vector database will be loaded from disk and you will be able to ask questions without having to upload the PDF again.
And what if you want to move your application into production and use a more structured vector database, like Azure AI Search? Thanks to the built-in support for multiple providers, you don’t have to change your code. You just need to use a different extension method provided by the KernelMemoryBuilder, like in the following example:
| |
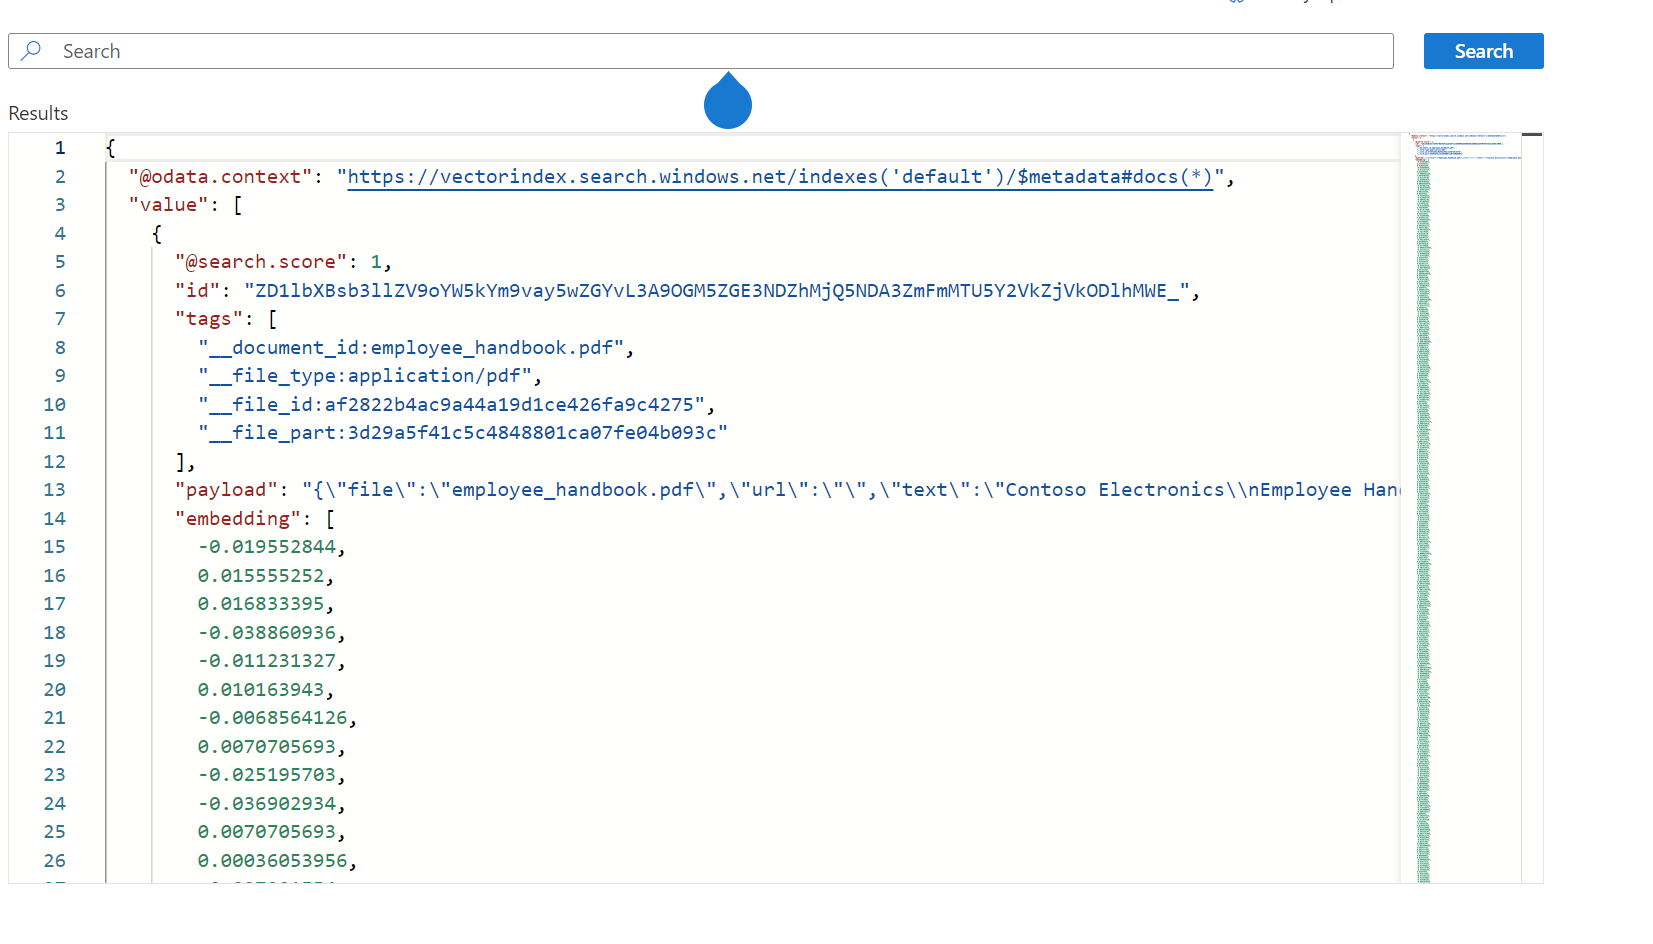
You just initialize Azure AI Search by using the WithAzureAISearchMemoryDb() method and passing, as parameter, the endpoint and the API Key provided by the Azure portal. Now, if you try again to process the PDF file using the AddContent page, you will see in the Azure portal that a new index, with name default, has been created. If you explore the content, you will see that the document has been split into multiple chunks, and each of them has been converted into a vector:
Wrapping up
This was quite a long post! We have seen how to use Kernel Memory to simplify the implementation of RAG, which enables an application to use a LLM to generate answers based on private data. We have seen how to use Kernel Memory to convert documents into vectors and to store them into a vector database, and how to use it to perform semantic search and to generate a response using an LLM. We have also seen how to store the vector database on disk and how to use a more structured vector database, like Azure AI Search.
In the next post, we’re going to see how Kernel Memory can be leveraged through Semantic Kernel with a specific plugin. Stay tuned!
In the meantime, you can find the code used in this post on GitHub, in the project called KernelMemory.